Hi Everyone,
Here are the steps
to configure Application User for getting Server to Server Authentication.
Create Azure App on
Azure
1) Navigate to https://admin.microsoft.com and sign in,
or from your D365 organization web page select the application launcher in the
top left corner.
2) Choose Admin >
Admin centers > Azure Active Directory
3) From the left
panel, choose Azure Active Directory > App registrations
4) Choose + New
registration

5) In the Register
an application form provide a name for your app, select Accounts in this
organizational directory only, and choose Register. A redirect URI is not
needed for now.

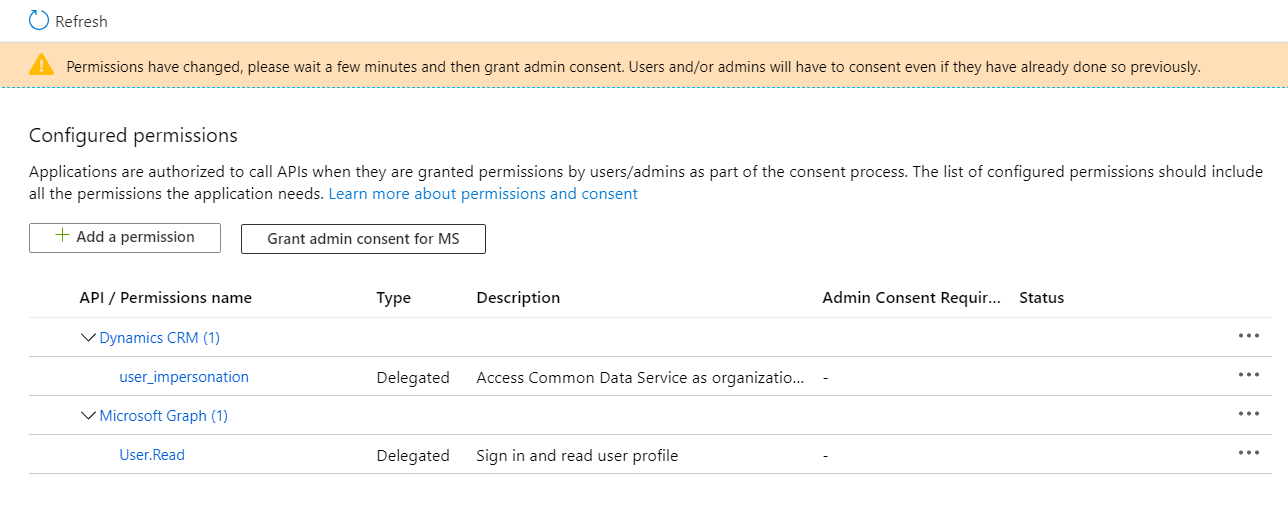
6) On the Overview
page, select API permissions
7) Choose + Add a
permission

8) In the Microsoft
APIs tab, choose Dynamics CRM

9) In the Request
API permission form, select Delegated permissions, check user_impersonation,
and select Add permissions

10) Wait for few
mins.
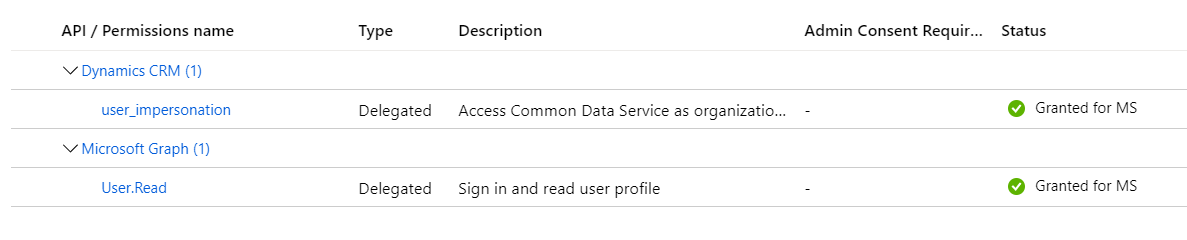
11) On the API
permissions page below Grant consent, select Grant admin consent for
"org-name" and when prompted choose Yes. In my case, org-name is
"MS"
12) In the
navigation panel, select Certificates & secrets

13) Below Client
secrets, choose + New client secret to create a secret
14) In the form,
enter a description and select Add. Record the secret string. You will not be
able to view the secret again once you leave the current screen.
15) Select Overview
in the navigation panel, record the Display name, Application ID, and Directory
ID values of the app registration. You will provide these later in the code
sample.
Application User
creation
To create an
unlicensed "application user" in your Dynamics 365 organization,
follow these steps. This application user will be given access to your
organization's data on behalf of the end user who is using your application.
1) Navigate to https://admin.microsoft.com and sign in,
or from your D365 organization web page select the application launcher in the
top left corner.
2) Choose Admin >
Admin centers > Azure Active Directory
3) In the left
navigation panel, choose Users and Select + New user
4) In the User form,
enter a name and username for the new user and select Create. Make sure the
username contains the organization domain URL of your D365 tenant (i.e.,
someuser@myorg.onmicrosoft.com). You can exit Azure AD now.
Navigate to your
D365 organization
5) Navigate to your
D365 organization
Navigate to Settings
> Security > Users
Choose Application
Users in the view filter
Select + New

In the New User form
(Application User Form), enter the required information. These values must be
identical to those values for the new user you created in the Azure tenant.
User Name - The
Username that was created on Azure Active Directory
Application ID - You
can get this from the App (Overview section) that is created under App
Registrations
Full Name and
Primary Email - As your wish.

6) If all goes well,
after selecting SAVE, the Application ID URI and Azure AD Object Id fields will
auto-populate with their correct values.
7) Before exiting
the user form, choose MANAGE ROLES and assign a security role to this
application user so that the application user can access the desired
organization data. I gave Administrator as a role but you can give the role as
per your requirement.
Download the sample code from here and test it.
Hope this helps.
--
Happy 365'ing
--
Happy 365'ing
Gopinath
No comments:
Post a Comment