Hi Everyone,
Today I was working on new project setup on Dynamics 365 Customer Engagement. We are using Developer Tool Kit, we all know that for some reason we have to stop using ILMerge and start using Shared Project if you want to divide the code like Business Processes and EntityWrapper.
I have created the Project using Dynamics 365 Template (Which comes with Developer Toolkit) and I have created SharedProject in the same solution. When I tried to give the reference, I was not able to see any option to reference of the Shared Project. It was like below.

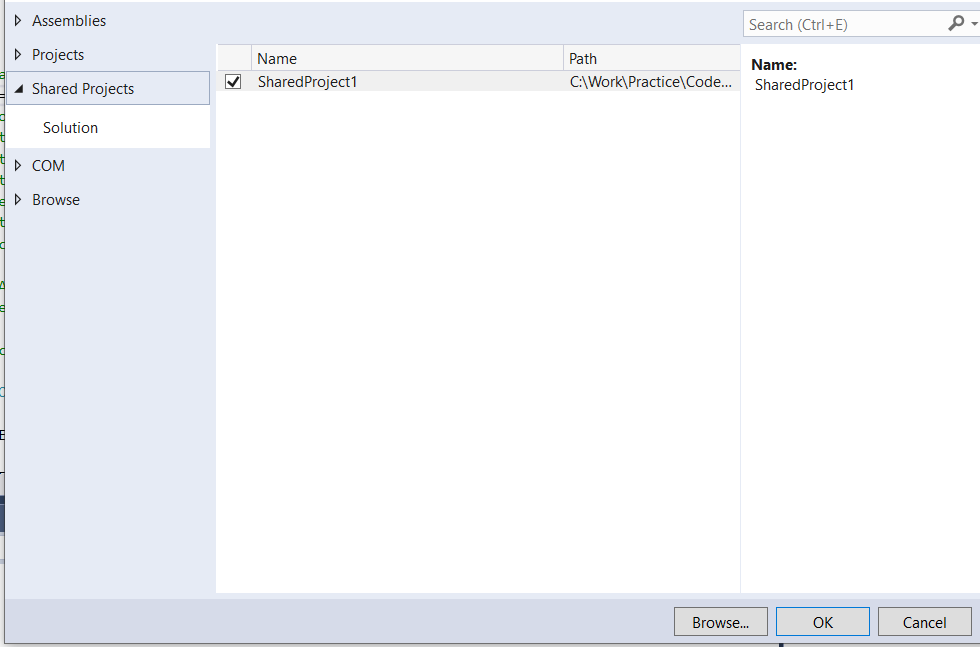
How it should like is below. I am sure there is something going with the Template whatever we used from Developer Toolkit.
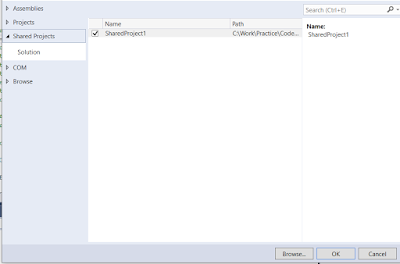
Here is the way to solve, you just have open the Project file (.csproj) file in notepad add the below line at the end before Project End tag
<Import Project="..\SharedProject1\SharedProject1.projitems" Label="Shared" />
 SharedProject1 - Folder of the SharedProject
SharedProject1.projitems - You will see this file in the location where you have created Shared Project.
Hope this helps.
--
Happy 365'ing
Today I was working on new project setup on Dynamics 365 Customer Engagement. We are using Developer Tool Kit, we all know that for some reason we have to stop using ILMerge and start using Shared Project if you want to divide the code like Business Processes and EntityWrapper.
I have created the Project using Dynamics 365 Template (Which comes with Developer Toolkit) and I have created SharedProject in the same solution. When I tried to give the reference, I was not able to see any option to reference of the Shared Project. It was like below.
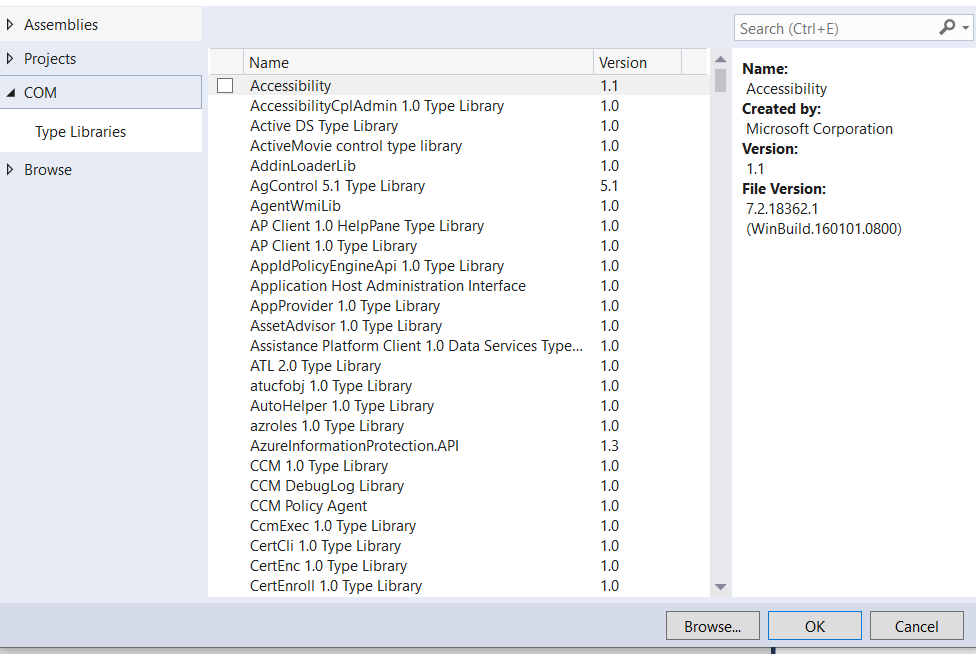
How it should like is below. I am sure there is something going with the Template whatever we used from Developer Toolkit.
Here is the way to solve, you just have open the Project file (.csproj) file in notepad add the below line at the end before Project End tag
<Import Project="..\SharedProject1\SharedProject1.projitems" Label="Shared" />

SharedProject1.projitems - You will see this file in the location where you have created Shared Project.
Hope this helps.
--
Happy 365'ing
Gopinath