You can add custom icon with tooltip text to display in a column depending on the column value; you can also specify localized tooltip text. This can be done by adding the custom icons as image web resources in your Dynamics 365 instance and then using a JavaScript web resource to add JavaScript code for a column to display the icons depending on the column value.
Here is the way to do it.
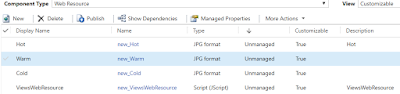
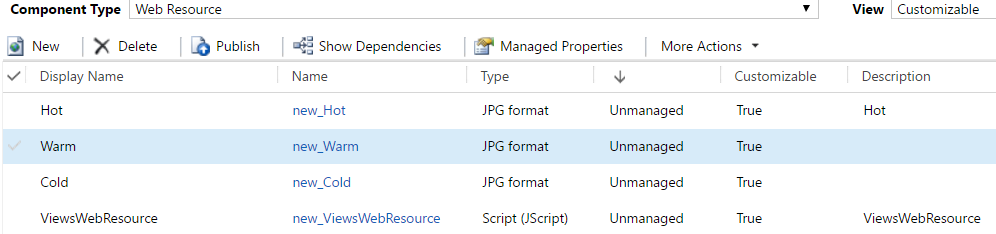
1) Create a required webresources as Images in CRM (In this example, I have created three images)


2) Create a JavaScript Webresource and add the following the code to it. Make sure you have given proper webresource names in the Switch part of the JavaScript code.
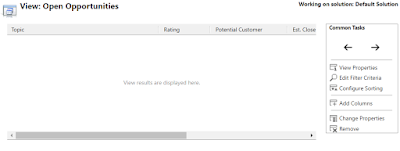
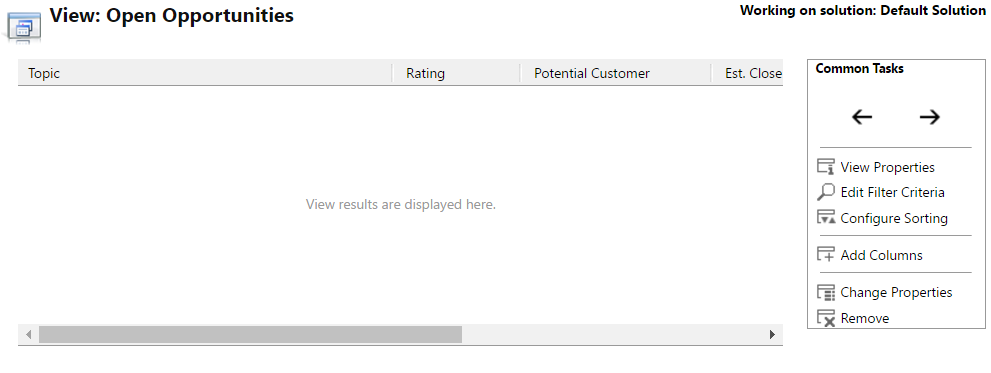
3) Navigate to Customizations --> Entity (Ex: Opportunity) --> Views --> Select the view where you want to add the image.
 4) Select the column where you want to add the Image/Tooltip and select on Change Properties. You will see an to select Webresource file and Function name to call it. Select the webresource which you have created and given the functionname as below.

5) Save and Close the View and publish the customizations.
Here is the Output of it.

Hope this helps.
--
Happy CRM'ing
Here is the way to do it.
1) Create a required webresources as Images in CRM (In this example, I have created three images)
2) Create a JavaScript Webresource and add the following the code to it. Make sure you have given proper webresource names in the Switch part of the JavaScript code.
function
displayIconTooltip(rowData, userLCID) {
var str =
JSON.parse(rowData);
var coldata =
str.opportunityratingcode_Value;
var imgName = "";
var tooltip = "";
switch (coldata) {
case 1:
imgName = "new_Hot";
switch (userLCID) {
case 1036:
tooltip
= "French: Opportunity is Hot";
break;
default:
tooltip
= "Opportunity is Hot";
break;
}
break;
case 2:
imgName = "new_Warm";
switch (userLCID) {
case 1036:
tooltip
= "French: Opportunity is Warm";
break;
default:
tooltip
= "Opportunity is Warm";
break;
}
break;
case 3:
imgName = "new_Cold";
switch (userLCID) {
case 1036:
tooltip
= "French: Opportunity is Cold";
break;
default:
tooltip
= "Opportunity is Cold";
break;
}
break;
default:
imgName = "";
tooltip = "";
break;
}
var resultarray = [imgName,
tooltip];
return resultarray;
}

5) Save and Close the View and publish the customizations.
Here is the Output of it.

Hope this helps.
--
Happy CRM'ing
Gopinath
No comments:
Post a Comment